Lampshade Kit Hack #10 - Natural Table Lamp Kit
- Dannells Admin
- Sep 23, 2022
- 3 min read
Updated: Nov 23, 2023
With natural materials and tones firmly rooted in today’s interior trends, we thought we’d give a natural make-over to one of our favourite products – the Table Lamp Making Kit. Effortless stylish and perfect for every room in the house, we’ve hacked this easy-to-make kit with the simple additions of raffia and wood, coordinated with a beautiful quality linen fabric from our latest fabric range. We think the result is both modern and impressive for very little time and effort!

What’s in the box
1 x Self-adhesive panel with a white liner (492mm x 368mm including a 14mm kiss cut)
1 x Table lamp ring 150mm, epoxy coated 1 x Table lamp ring 150mm, epoxy coated with utility fitting and built-in stand 3 x White plastic feet covers 1 x 3mtr 9mm Double-Sided Tape
1 x Rolled edge tool for finishing
Materials and tools you will need
Covering of your choice - woven fabric, wallpaper or paper – measuring 388mm x 512mm. We used Chatham Linen Fabric – Ochre
Clean, flat working surface
Seam Roller (optional)

Table lamp Assembled Size
150mm diameter x 380mm high
Preparation
Ensure your covering is ironed and crease free.
How to Hack your Table Lamp Making Kit
1. Follow the instructions in your Table Lamp Making Kit to Step 9.

2. Remove the plastic feet from the ring with the built-in stand and place a wooden ball on one leg. Mark with a pencil at the top of the ball.

3. Cut three 25cm lengths of raffia, choosing sections that are not too thin and are not splitting.

4. Place a small spot of glue on the leg, just below the ring.

5. Starting at the top, wind the raffia around the leg, keeping it taut and even.


6. On reaching the pencil mark place another small spot of glue behind the leg, adhere the raffia in place and cut off the loose end once cooled.

7. With your hot glue gun, place a small spot of glue at the bottom of the leg. Any more than a small spot and the glue will rise up through the ball once positioned, creating a blob at the top of the ball.

8. Place the ball on the end of the leg. Repeat on the remaining legs.

9. Apply 9mm double-sided tape to both of the rings. Apply evenly to avoid creases.

10. Press the tape down evenly and firmly onto both rings.

11. Snip the tape at the legs to help the tape cover the ring.

12. Remove the release paper. The rings will be sticky and ready to fix to the panel.

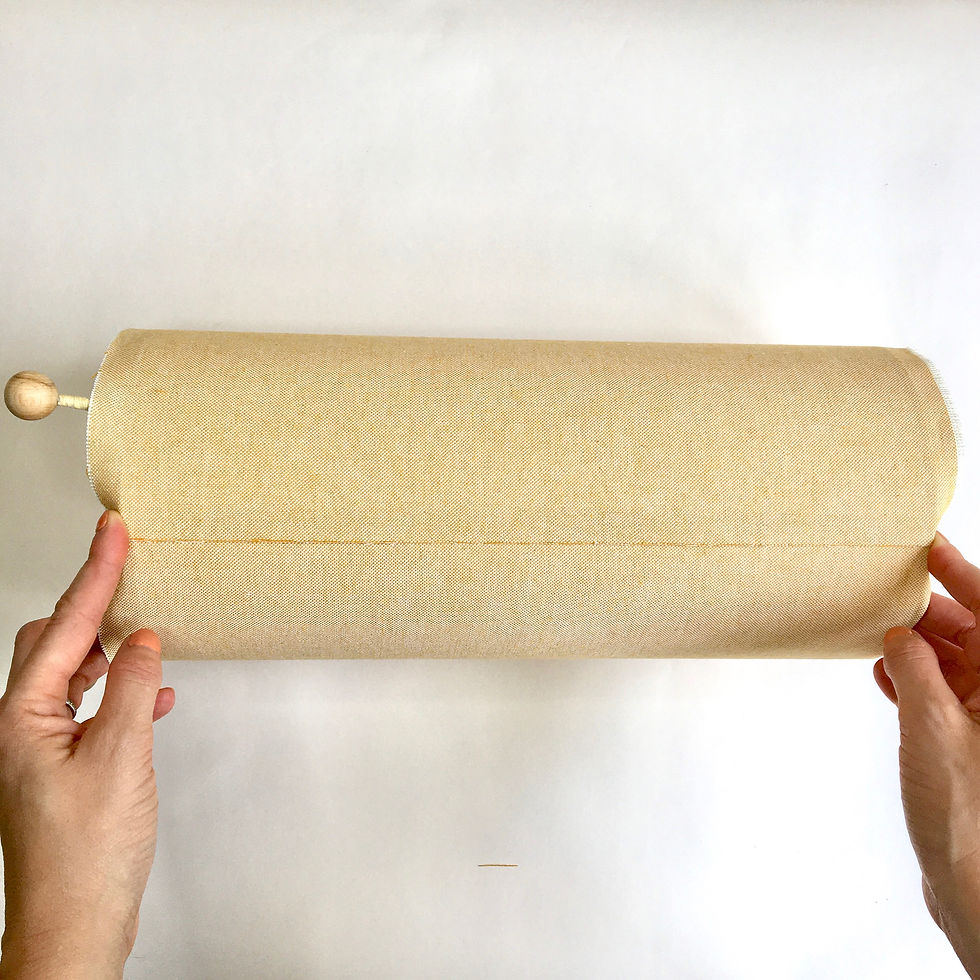
13. Position each ring on the edge of the PVC and start to roll towards the taped seam edge.

Tip: Position the utility ring (the ring with the legs), so that the seam sits between the legs. This will make it easier to close the seam later.

14. When you get to the seam (the overlap) remove the release paper on the D/S tape.

15. At the seam ensure the two panels overlap each other, to create a continuous straight edge at the top and bottom of the panel.

16. Place the seam on a hard surface and apply firm pressure with your hand to close. If you have a seam roller this can help secure the seam.

17. Cut the covering behind the stand legs, to allow the covering to be folded behind.

18. Pinch the fabric and pull taut, then fold over the sticky rings. Repeat at the top of the shade.

19. Use the rolled edge tool, to push the fabric behind the rings. Push the tool into the gap and swipe round until all the fabric is tucked behind.

20. Your hacked table lamp is now complete!

Electrical Assemblies for Table and Floor Lamps
Our Table and Floor Lamp Making Kits use an E27 Lamp Holder that’s handily fitted with a switched cable, UK 3-pin plug and a 2-metre cable and is fully tested in compliance with EU legislation for health and safety. Simply connect the lamp holder to the utility ring, fit your bulb, then plug it straight into your electrical socket and switch on. This electrical assembly is also available with a Europlug for European sockets.

Want a super-sized hack?
Our simple hack can also be applied to our Floor Lamp Making Kit, which is simply a larger version of our Table Lamp Kit, standing at 74 cm high and with a diameter of 20 cm wide. For additional #hacks why not paint the wooden balls, maybe picking out a shade from your fabric or be more adventurous still, by using painter's masking tape to paint only half of the ball?

#tablelampshademakingkit #naturalhack #wood #raffia #woodenballs #halfdrilledwoodenballs #tablelamp #lampshadehack #naturallampshade #modernlampshade #floorlampshademaking #lampshademakingkits #lampshademakingPVC #professionallampshades #bespokeshades #uniqueshades #lampshades #lampshademaker #bespokedesign #oneofakindshade #handmadeshades #lampshademaker #lampshadeinspiration #creativeshades #creativeprocess #creativelearning #shademaker
(small).jpg)


Opmerkingen